Growing Your Own Homemade Sprouts: A Simple Guide to Fresh, Nutritious Greens
This post contains affiliate links. We may earn a commission if you purchase through these links. #amazonaffiliate
As a lover of gardening and sustainable living, there's something incredibly satisfying about growing your own food—even if it's just a tiny sprout. Sprouts are packed with nutrients, easy to grow indoors, and can be added to salads, sandwiches, or smoothies for an extra boost. In this post, we'll walk you through the simple steps to grow your own homemade sprouts. Then check out our Insta for a step by step video on how to get started.
Why Grow Sprouts?
Sprouts are young plants that have just begun to grow from seeds. They're rich in vitamins, minerals, and antioxidants, making them a great addition to a healthy diet. Plus, they're easy to grow at home with minimal equipment, and you can enjoy fresh greens year-round, regardless of the season.
What You'll Need
You might already have some of these items at home, but if you're just starting out, here are some essentials:
- Seeds (organic options like alfalfa, broccoli, or radish work well)
- A clean glass jar or sprouting container
- Cheesecloth or a mesh lid
- Water
If you're looking to get started with sprouting, I've had success with the following products:
- *Organic Seeds*: You can find a variety of organic seeds for sprouting on Amazon https://amzn.to/3Kn8DVh These seeds are perfect for growing nutritious sprouts at home.
- *Seed Container*: A dedicated sprouting jar or container can make the process easier. I've used this seed container https://amzn.to/4gFgKZg and found it to be a great tool for beginners.
Step-by-Step Guide to Growing Sprouts
1. *Rinse and Soak the Seeds*: Place your seeds in the jar and rinse them with water. Then, soak them in water for 8-12 hours to kickstart the germination process.
2. *Drain and Rinse*: After soaking, drain the water and rinse the seeds thoroughly. Cover the jar with cheesecloth or a mesh lid to allow for airflow.
3. *Create a Sprouting Environment*: Place the jar in a dark, warm spot (around 70-80°F or 21-27°C). This encourages the seeds to sprout.
4. *Rinse Daily*: Rinse the sprouts with water twice a day to keep them moist and prevent mold. Drain well after each rinse.
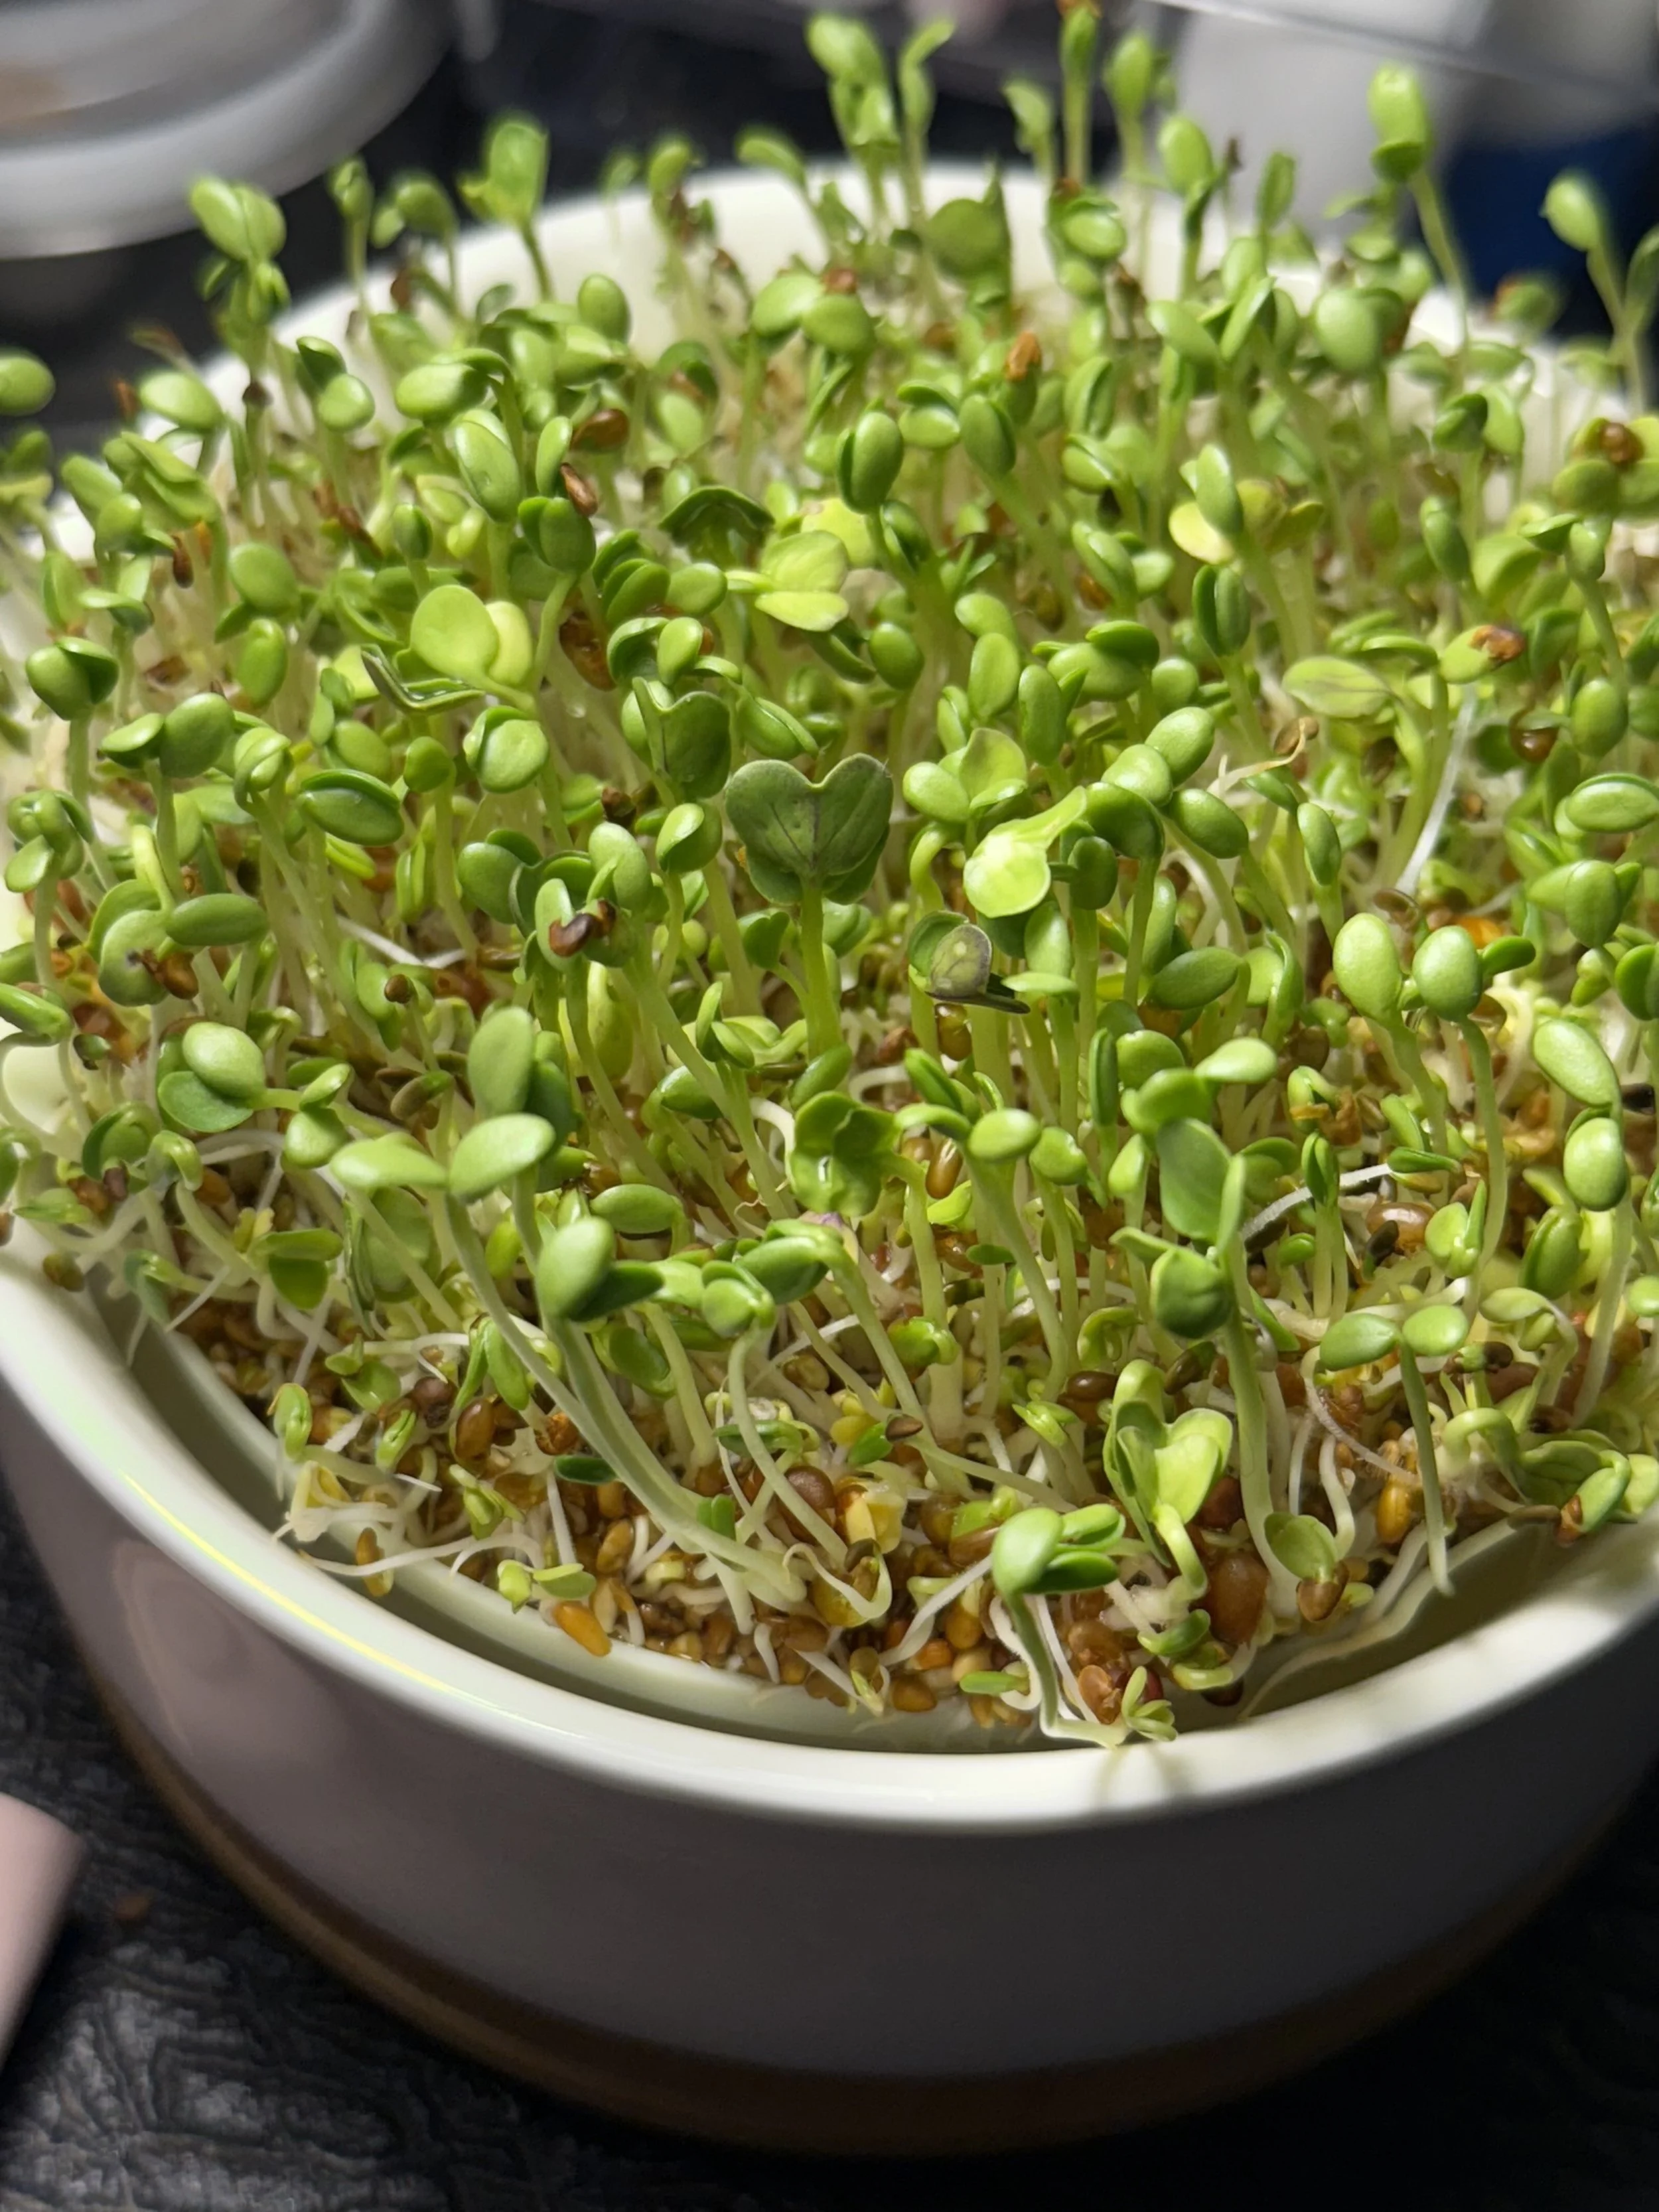
5. *Move to Light*: Once the sprouts are about 1-2 inches long (usually after 3-5 days), move them to indirect sunlight to encourage chlorophyll production and greening.
6. *Harvest*: After a few more days (depending on the type of sprout), they'll be ready to eat. Rinse them one last time, drain, and store them in the fridge to keep them fresh.
Tips for Successful Sprouting
- Use clean equipment and fresh seeds for the best results.
- Keep the sprouts moist but not waterlogged to prevent mold.
- Experiment with different types of seeds to find your favorites.
Growing your own sprouts is a fun and rewarding way to enjoy fresh, nutritious greens at home. With just a few simple steps and a little patience, you'll be harvesting your own sprouts in no time. Happy sprouting!
Share your sprouting experiences or favorite sprout recipes in the comments below! If you're just starting out, feel free to ask any questions or share your favorite products for sprouting.